Whew! This monster of a project is finally done! It has been a tough couple of weeks, I can tell you that. Between canning everything coming out of the garden (and off the peach trees), I've done nothing but can and costume this entire month.
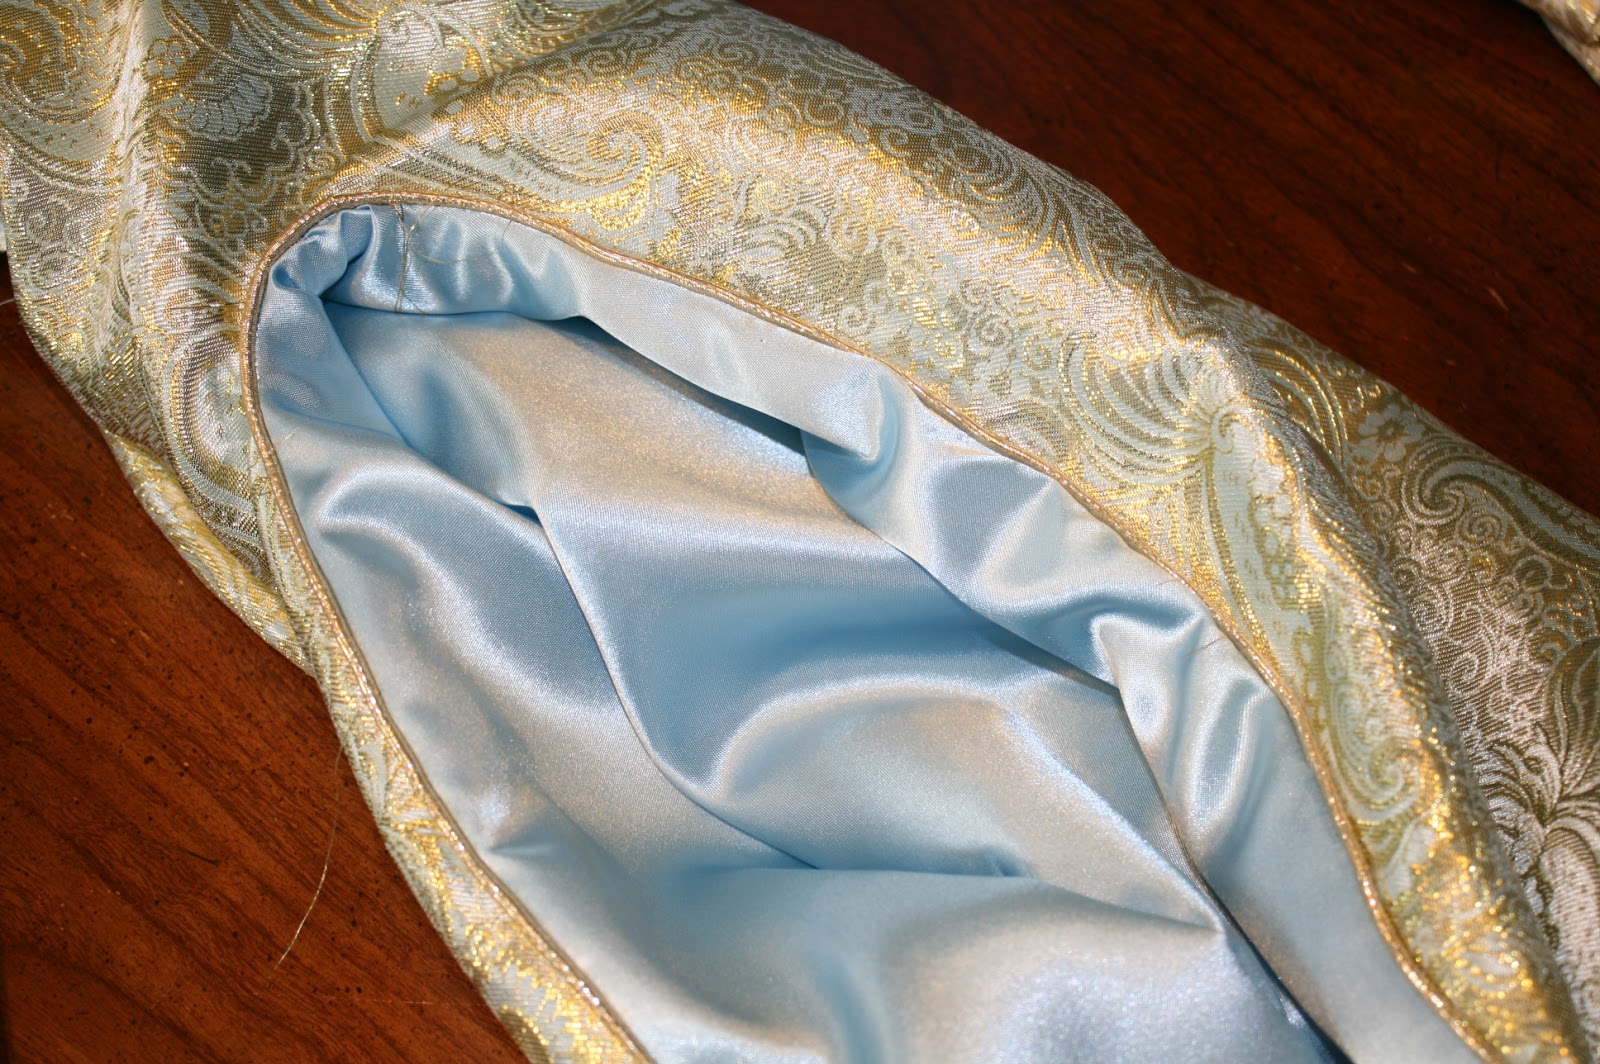
I'm not entirely pleased with the final result. There is a lot I don't like about the dress, but I'm not going to start pointing it out. Here are some shots of the jacket. This is before I tacked down the sleeves so that they aren't so poofy. I will mention that I know that the "belt" isn't correct in the back, but I had a lot of issues with where to put the zipper, and I ended up making it a lot tighter than I'd originally planned, so that threw everything off. I wasn't going to start ripping, though. I'm also not thrilled with how the sleeves lay, but the fabric just didn't lay correctly to begin with. It's on the lightweight side, but I chose a heavy satin for the lining. Unfortunately, with all of the gold embroidery, it makes the fabric a bit too stiff, and because it's so light weight, it just doesn't sit correctly. Oh well. There's nothing I can do about that. I could either have it lay perfectly, or have a more authentic pattern. I determined that the pattern was more important.
The interesting thing about the bodice and front panel is that the majority of it all is hand-stitched. I did use the machine to stitch the bodice together, make the seams on the sides, and add the two pieces of ribbon down the front, but the rest of it is hand-stitched. The front piece, the belts, the ribbon along the top, and the sleeves are all hand-stitched to the bodice. And don't forget the beading! It might not seem like a lot, but that was maybe 10 hours worth of work. I also had to rip the belts out once and redo them, as they'd somehow gotten bunched up without my noticing, and the one side was markedly different from the other.
Here is the complete, finished piece. This includes the dress and jacket with front panel. Some day I'll get some good photos, but not at 1:30 in the morning the day that we're leaving.
I will probably be posting the work I did on Matt's Eomer costume when we get back from Dragon Con, so keep an eye out for that!
I'm also now on Instagram, so look for me there as CasualCostumer!
Showing posts with label blue. Show all posts
Tuesday, August 27, 2013
Sunday, August 25, 2013
Eowyn Victory Dress Part 7: Accessories
This post is going to be short and sweet!
Eowyn's wig: Something you may not realize: shopping for a wig online is INSANELY difficult! I bought one that seemed perfect, and not only was the color totally wrong from the photo (it had streaks of brown), it wasn't the same shape, either. I had to send it back. I purchased the Cassie wig from Amphigory, which was about $30. I purchased color 24B (which is not the color in the photo). I found out about this wig from a Cosplay Island Eowyn costume.
Eowyn's shoes: The shoes for the outfit can be seen in only one shot of Miranda Otto walking to set.
I bought a $20 pair of ballet slippers from Payless, and spray-painted them gold. I used Rust-oleum that I had laying around from repainting an umbrella stand, and it seemed to work really well. I didn't want to spray the insides, so I put on a pair of old socks and sprayed the shoes while wearing them, let them dry for a few minutes, then slowly peeled the socks off. It seems to have worked really well! We'll see how they hold up after a night on the con floor.
Eowyn's wig: Something you may not realize: shopping for a wig online is INSANELY difficult! I bought one that seemed perfect, and not only was the color totally wrong from the photo (it had streaks of brown), it wasn't the same shape, either. I had to send it back. I purchased the Cassie wig from Amphigory, which was about $30. I purchased color 24B (which is not the color in the photo). I found out about this wig from a Cosplay Island Eowyn costume.
Eowyn's shoes: The shoes for the outfit can be seen in only one shot of Miranda Otto walking to set.
I bought a $20 pair of ballet slippers from Payless, and spray-painted them gold. I used Rust-oleum that I had laying around from repainting an umbrella stand, and it seemed to work really well. I didn't want to spray the insides, so I put on a pair of old socks and sprayed the shoes while wearing them, let them dry for a few minutes, then slowly peeled the socks off. It seems to have worked really well! We'll see how they hold up after a night on the con floor.
Labels:
amphigory,
ballet shoes,
blue,
cosplay,
cosplay island,
eowyn,
lord of the rings,
return of the king,
victory dress,
wig
Friday, August 23, 2013
Eowyn Victory Dress Part 6: Where Were We?
I haven't blogged all week because I've been working on a lot of little stuff here and there. It's too much to put into one post, though, so let me start with Eowyn's jacket and front panel.
I really put off making the sleeves because, frankly, they scared me. After draping a few times and making several tests, I did finally buckle down and make a pattern. I used the sleeves from Simplicity 4589 as a starting point.
Here's the pattern that I made:
I cut out the lining and the actual fabric and found out ... I was like two inches too short with the damned fabric. NOOOOO! I don't know how that happened. Oops. Anyway, the sleeves of the jacket are now just a tad too short. I may have to adjust the sleeves on the dress so that they're not too long.
I also added in the piping.
It's not puffy like that anymore, it's sewn down. I do need to tack it in a few places so that the lining doesn't droop. I am a bit disappointed at the weight of the sleeve. I feel like it doesn't sit correctly due to all of the crazy embroidery, and it doesn't have the weight that I really wanted. Oh well.
The other thing that I worked on this week was the front panel. I couldn't find any trim that would work for the seams down the middle. I tried to simple make seams, but you couldn't really see them. I ended up buying gold organza ribbon from Hobby Lobby. I think it works okay.
I then beaded the four rows of gold beads and the pattern down the middle. I haven't done the embroidery yet, but that's not a priority. If someone comes up and is like, "where's the silver embroidery?" I'll just smack them. I am pretty pleased with how this came out. I had a really hard time finding beads that I thought worked. I ended up just grabbing a bunch of different stuff from Hobby Lobby. It's not exactly what I wanted for the green beads, but it'll do.
Tomorrow I'll be placing the front panel on the jacket, attaching the sleeves to the jacket, and putting on the belts and finishing up with the zipper.
Here's a reference shot of the front panel detail for comparison:
I really put off making the sleeves because, frankly, they scared me. After draping a few times and making several tests, I did finally buckle down and make a pattern. I used the sleeves from Simplicity 4589 as a starting point.
Here's the pattern that I made:
I cut out the lining and the actual fabric and found out ... I was like two inches too short with the damned fabric. NOOOOO! I don't know how that happened. Oops. Anyway, the sleeves of the jacket are now just a tad too short. I may have to adjust the sleeves on the dress so that they're not too long.
I also added in the piping.
It's not puffy like that anymore, it's sewn down. I do need to tack it in a few places so that the lining doesn't droop. I am a bit disappointed at the weight of the sleeve. I feel like it doesn't sit correctly due to all of the crazy embroidery, and it doesn't have the weight that I really wanted. Oh well.
The other thing that I worked on this week was the front panel. I couldn't find any trim that would work for the seams down the middle. I tried to simple make seams, but you couldn't really see them. I ended up buying gold organza ribbon from Hobby Lobby. I think it works okay.
I then beaded the four rows of gold beads and the pattern down the middle. I haven't done the embroidery yet, but that's not a priority. If someone comes up and is like, "where's the silver embroidery?" I'll just smack them. I am pretty pleased with how this came out. I had a really hard time finding beads that I thought worked. I ended up just grabbing a bunch of different stuff from Hobby Lobby. It's not exactly what I wanted for the green beads, but it'll do.
Tomorrow I'll be placing the front panel on the jacket, attaching the sleeves to the jacket, and putting on the belts and finishing up with the zipper.
Here's a reference shot of the front panel detail for comparison:
Labels:
blue,
cosplay,
eowyn,
lord of the rings,
return of the king,
victory
Thursday, January 10, 2013
Nightgown
When I made the Merida Halloween costume for my friend's daughter, I used a gorgeous fabric for the underskirt. It's stretchy, but just feels amazing. I thought it would make a great nightgown.
I started working on it last night, so I don't have any photos yet (it's not finished), but I think this nightgown will be my embroidery practice. I am leaning towards the blue Eowyn victory dress, which is heavily embroidered. I'm already familiar with embroidery, as I've done quite a few bedspreads and a table cloth, and I've also counted cross-stitched dozens of birth announcements. But I've never done my own pattern on a dress. This will be very interesting ...
I should point out that even though I'm not doing the Eowyn armor, my husband is still making Eomer. I'll probably update about his costume every now and then, as it should prove to be a learning experience.
I started working on it last night, so I don't have any photos yet (it's not finished), but I think this nightgown will be my embroidery practice. I am leaning towards the blue Eowyn victory dress, which is heavily embroidered. I'm already familiar with embroidery, as I've done quite a few bedspreads and a table cloth, and I've also counted cross-stitched dozens of birth announcements. But I've never done my own pattern on a dress. This will be very interesting ...
I should point out that even though I'm not doing the Eowyn armor, my husband is still making Eomer. I'll probably update about his costume every now and then, as it should prove to be a learning experience.
Labels:
blue,
embroidery,
eowyn,
nightgown,
victory dress
Subscribe to:
Posts (Atom)